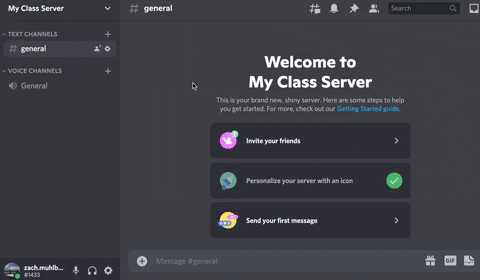
Default Channels
New servers come with two channels:
- one text channel: #general
- one voice channel: General
New servers also come with one category for text channels and one for voice channels.
Channels are arranged under the umbrella of categories, which serve as the organizing principles of Discord servers. Use them to customize your server as an architect would a building. The intentional arrangement of categories can guide students toward useful resources, help them find information, and encourage participation across channels.
Channel Creation
To create new text and voice channels in your server, follow these steps:
- Click the gear icon next to the category where you aim to locate the new channel
- Choose between a voice or text channel, then name it accordingly
- Click Create Channel, with the privacy option toggled for now. More on that later.
Rinse & repeat until you’ve created a small collection of text and voice channels for your server.
Tip: double-click a channel (or category) to edit its notification settings
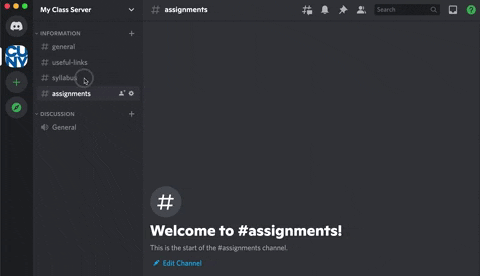
Channel Customization
Next up: complete the tasks below to practice customizing your server with a classroom in mind.
- Rename an existing category either Resources or Information
- Double-click the category
- Click Edit Category
- Rename it
- Press Save Changes
- Create some channels to be organized under your new category
- Click the plus sign next to the category
- Create a series of channel related to course info (e.g.
#useful-links,#syllabus)
- Drag and drop channels to foreground important ones at the top
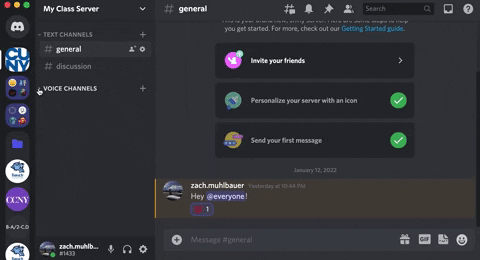
Here are some additional features to keep in mind going forward:
- Tip 1: Double-click a channel (or category) to edit its notification settings, shown below:
- Tip 2: click a category’s down-arrow to collapse its channels and silence their notifications except for one in which you’re active. This applies solely to your view. Take a look:
Disclaimer: when planning to teach hybrid or fully online classes in Discord, keep in mind that voice channels can only accommodate 25 total voice-and-video participants at once.
Profile Customization
User Profile
To animate your teaching persona on Discord, customize your user profile via the steps below:
- Select the cog wheel icon at the bottom-left of the app » click User Profile
- Select Change Avatar » upload your favorite prof pic, no pun intended
- Toggle the About me to write a few words introducing yourself
- Press Save!
Server Profile
You can also customize your individual server profile for your class by following the steps below:
- Navigate to your class server
- Toggle the collapsable menu in the top left corner, then click Edit Server Profile.
- Customize the title you go by with your students (e.g. Prof. Xavier)
Additional Resources
- Channel Categories 101 walks you through the basics of channel categories
- Changing Online Status shows how to list yourself as online, idle, do not disturb, and invisible
- Adding Emojis and Reactions covers how to add emoji reactions to messages